Homemade Nut Milk
Making your own plant-based milk is easier than you think—plus healthier and more delicious than store-bought nut or seed milk.
Many people are surprised to learn how easy it is to make their own nut milks. You can use your nut (or seed) milk like you would use dairy—to add creaminess to smoothies, ice creams and savory foods such as soups, sauces or purees. For its aromatic qualities, Hazelnut Milk is one of my favorite milks to make when having friends over for coffee.
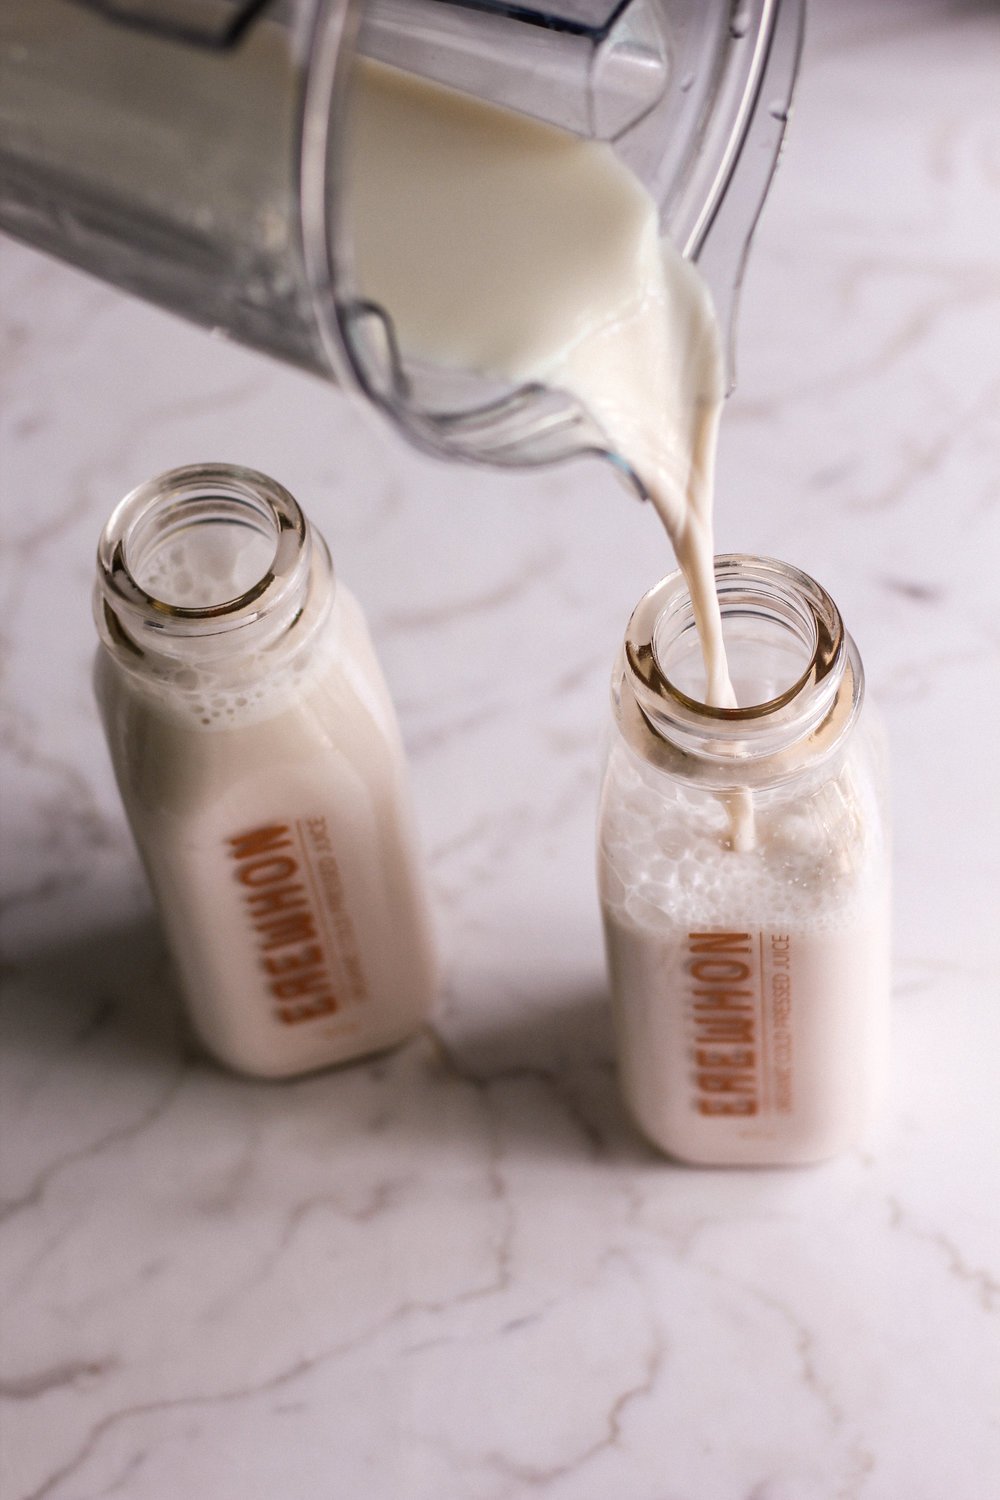
Keep your milk refrigerated in glass containers—I love the reusable juice bottles from Erewhon.
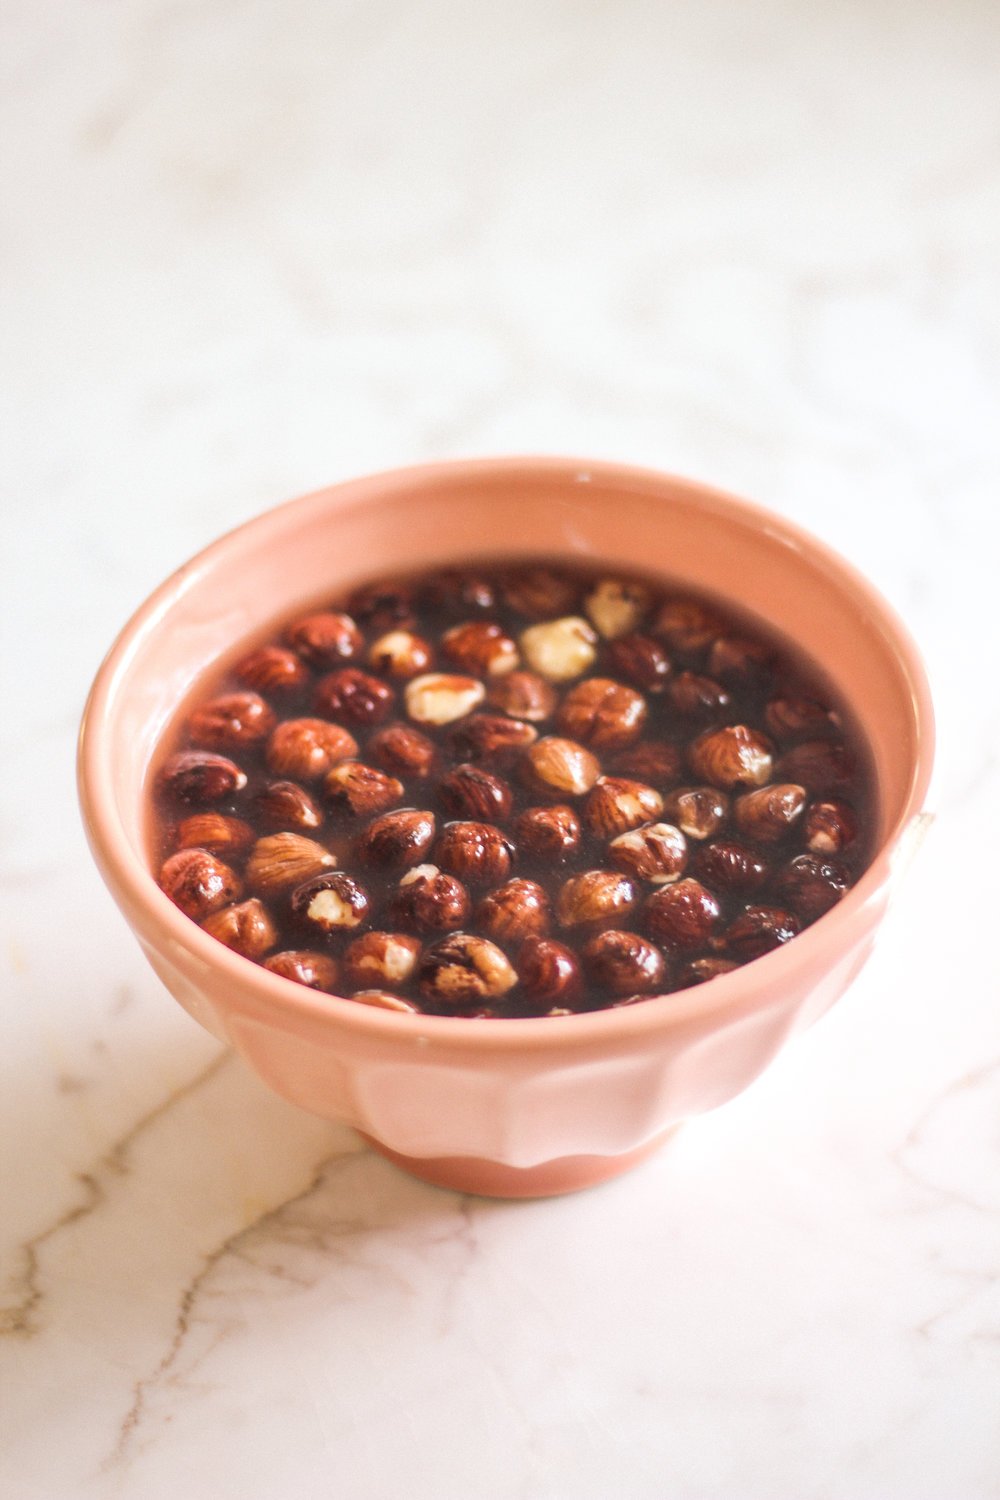
The process begins by soaking the hazelnuts in water at room temperature for 6-8 hours, and if you’re using another nut or seed, no problem—simply refer to this Soaking Guide. This recipe can be used with almonds, macadamia nuts, brazil nuts, pistachios, walnuts, and even seeds such as pumpkin, sunflower, and hemp seeds.
Nuts and seeds should always be rinsed well after soaking, and the soaking water should always be discarded.
Soaking initiates the sprouting process, neutralizing enzyme inhibitors in nuts and seeds that prevent nutrient absorption. In addition, this process of soaking cleans them, removing any dust or tannins. Although you absolutely can make milks without soaking, it certainly makes your plant-based milk healthier.
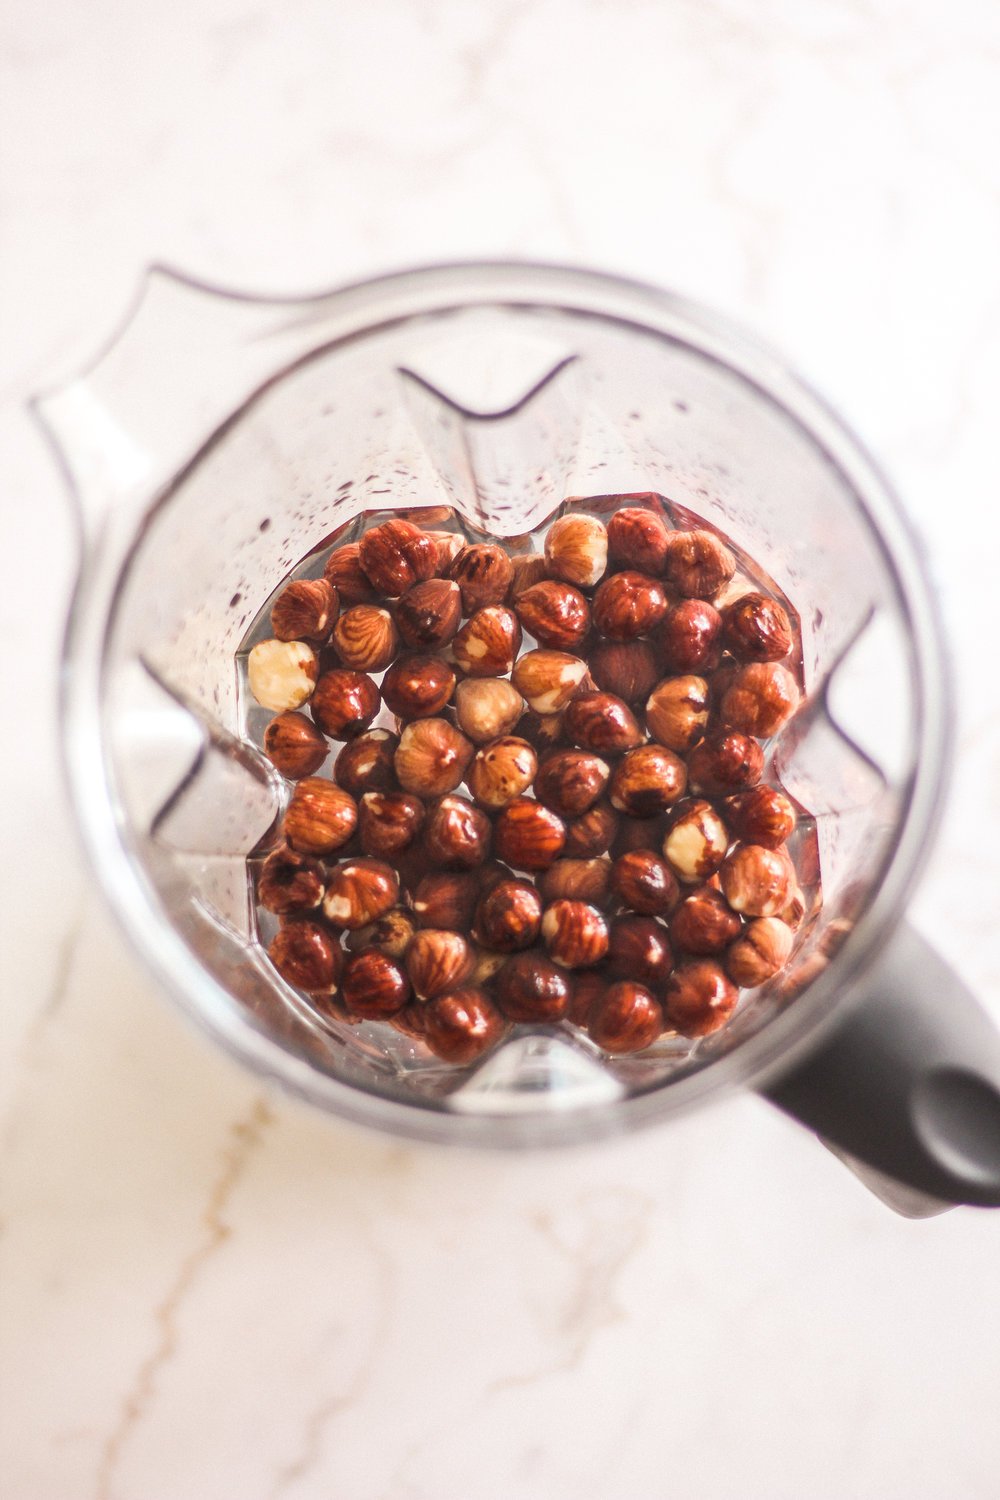
Blend water and soaked hazelnuts on high until thoroughly combined (about 1-2 minutes).
It’s important to distinguish between homemade plant-based milks and most of the nut or seed milks that can be purchased at grocery stores. As a rule of thumb, milks purchased at the grocery store should only have the following three ingredients: nut, water, sea salt (and occasionally vanilla). Anything beyond that and you’ll be much better off making your own.
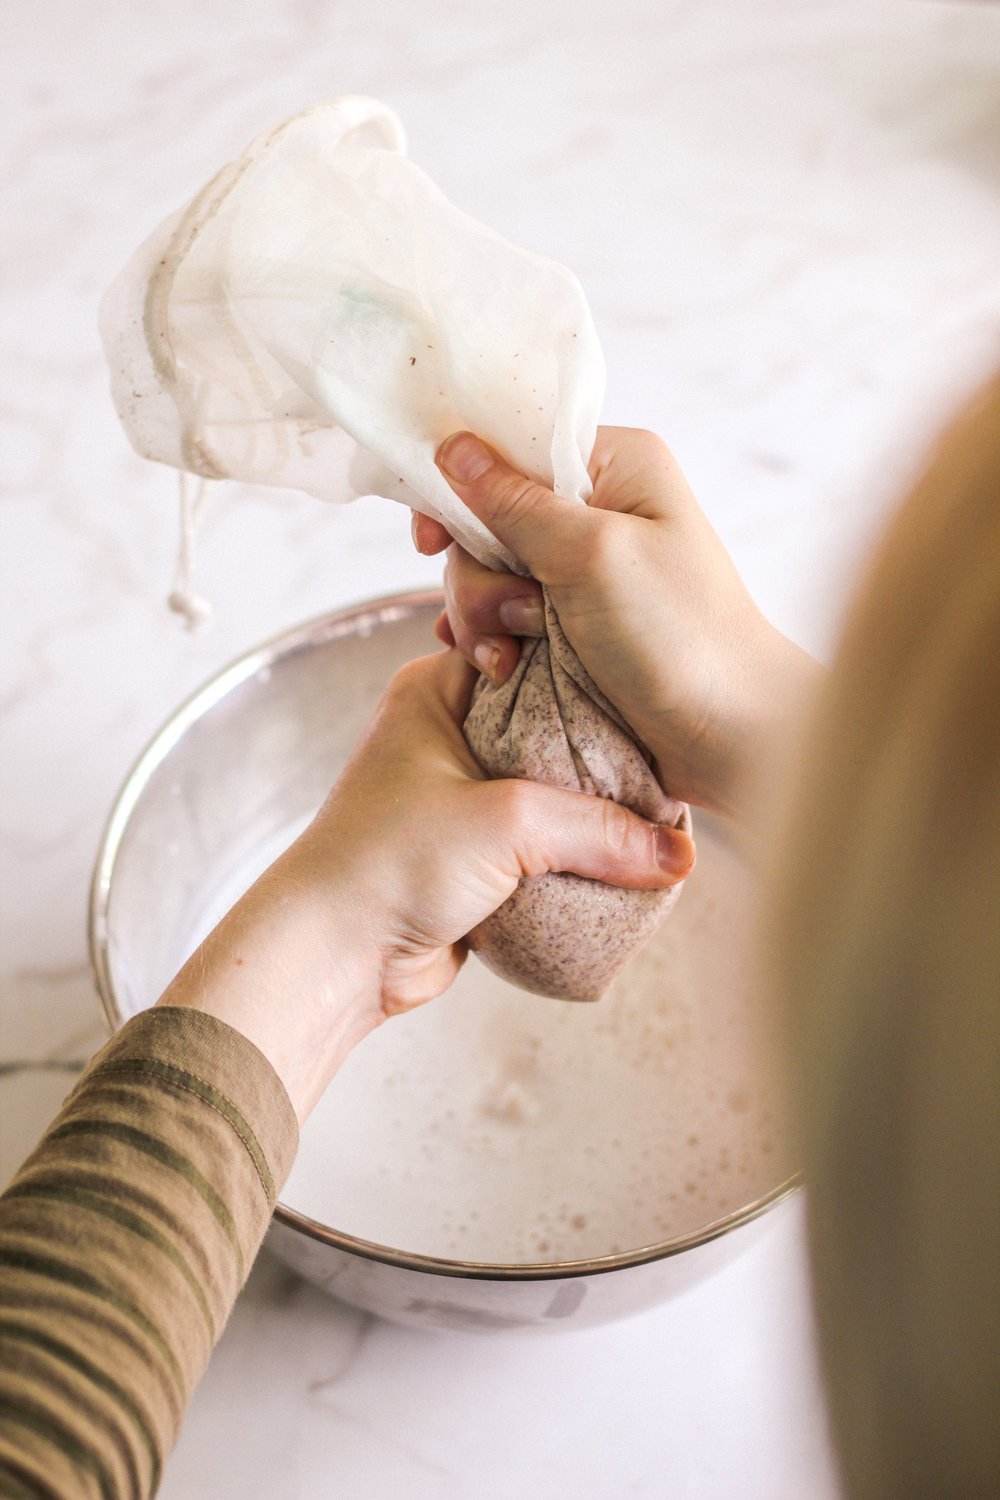
Squeeze your nut milk bag until no more liquid comes out, of course, making sure your hands are clean for this step.
Although you can strain your milk using a fine chinois or a regular strainer lined with cheesecloth, I prefer using nut milk bags as they ensure a pulp-free end result. As for all that leftover pulp, you can keep it for use in crackers, bread recipes, and even the crusts of plant-based desserts.
Homemade Nut Milk
INGREDIENTS
1 cup hazelnuts, soaked for 6-8 hours (or your chosen nut/seed, soaked per the Soaking Guide)
4 cups water
Flavoring (Optional)
Vanilla, 2 tsp extract or 1/4-1/3” scraped bean
Virgin coconut oil or coconut-derived MCT, 1-2 tbsp
Dates or organic stevia, to taste
Salt, pinch
INSTRUCTIONS
Once soaked, rinse hazelnuts well and discard soaking water.
Blend nuts and water in a high-speed blender until thoroughly combined. Make sure there are no large chunks remaining.
Grab a large mixing bowl, and strain mixture through a nut milk bag, a fine chinois or a strainer lined with cheesecloth.
Rinse your blender, and then pour the strained milk back in. Add flavor as desired and blend well.
Once ready, pour into glass containers. As a general rule, homemade milks will keep refrigerated for 2-3 days.
Yields: 4 cups | Time: 10 min | Level: Easy
I make an extra-large batch twice a week, flavor half of it (for uses such as coffee, Four Sigmatic medicinal mushroom concoctions, or ice cream making) and keep the other half unflavored for when dishes call for plain milk (such as soups or sauces). With more and more people developing allergies and intolerances to foods they eat a lot of—such as almonds in the paleo community—making your own milk is a great skill to have so that you can change up which nuts and seeds you are consuming on a regular basis.
After making your own milk, you’ll likely never go back!


